Laundry Card X-Changer Acrylic Face Replacement
Card Concepts Inc takes no responsibility for data loss due to human error, hardware failure, or other such circumstances.
Table of Contents
Purpose
This guide will show you how to replace the acrylic glass on the front of the X-Changer.
Tools Needed
| Cordless Drill | #1 & #2 Philips Head Bits | 11/32 Deep well socket | Drill socket adapter | |
|---|---|---|---|---|
 | .jpg?version=1&modificationDate=1422527632117&cacheVersion=1&api=v2&width=200&height=149) | .jpg?version=1&modificationDate=1422527632133&cacheVersion=1&api=v2&width=200&height=134) | .jpg?version=1&modificationDate=1422527632150&cacheVersion=1&api=v2&width=200&height=200) |
Instructions
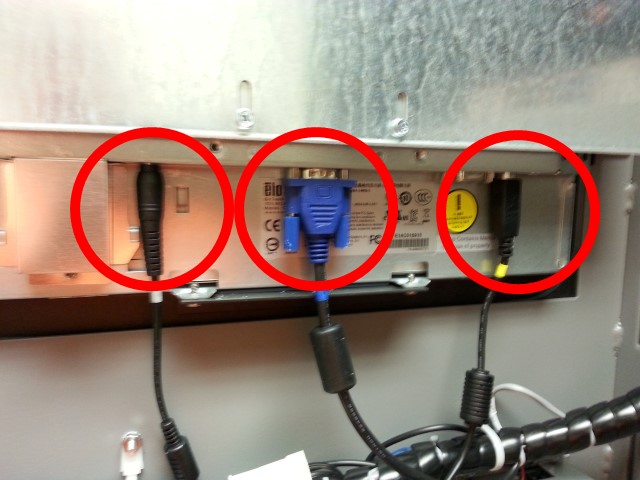
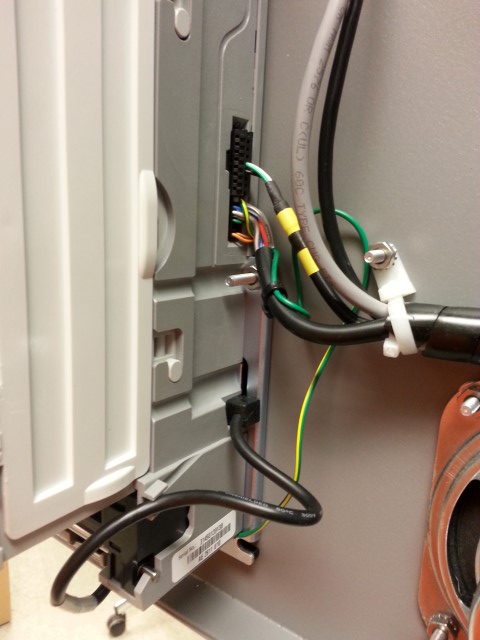
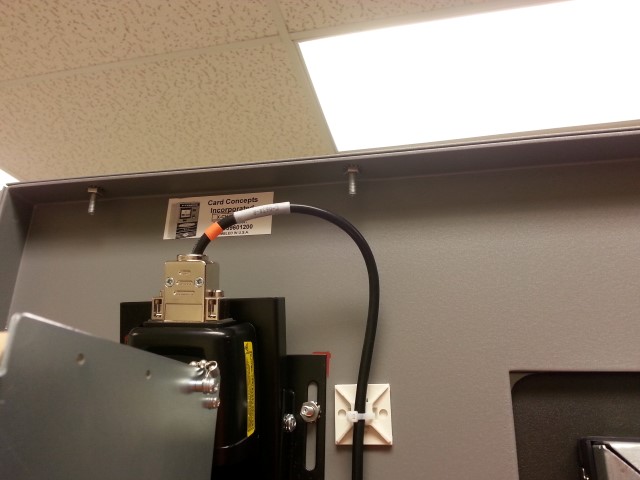
- Remove the monitor by disconnecting the various cables plugged in the back. Power, VGA and USB or Serial connections.
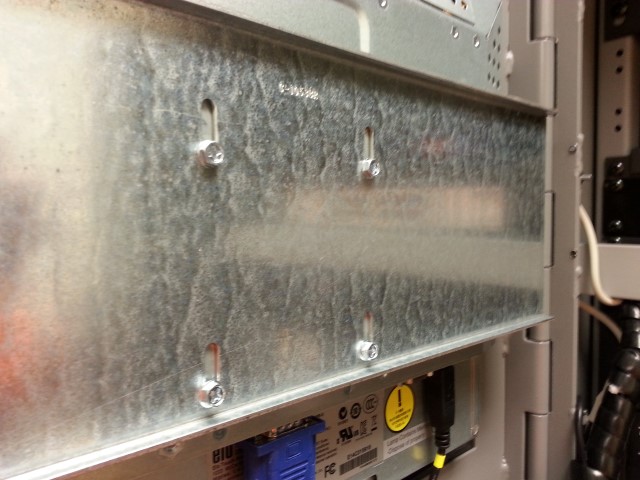
- Remove the mounting screws for the monitor. Note: You may want to have a second person available to hold the monitor as it will fall when the screws are removed.
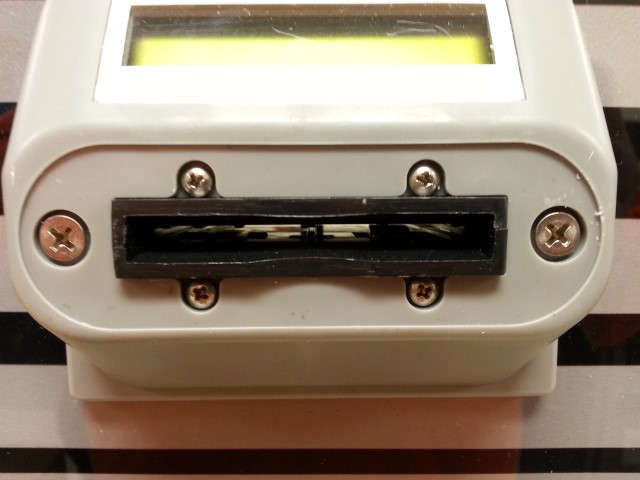
- Remove the card reader by unscrewing the mount screws. Unplug the cables and pull out.

- Remove the bill acceptor by unscrewing the (4) nuts. Take care in not damaging the ground cable.
Remove the cables from the side of the acceptor and pull the acceptor out.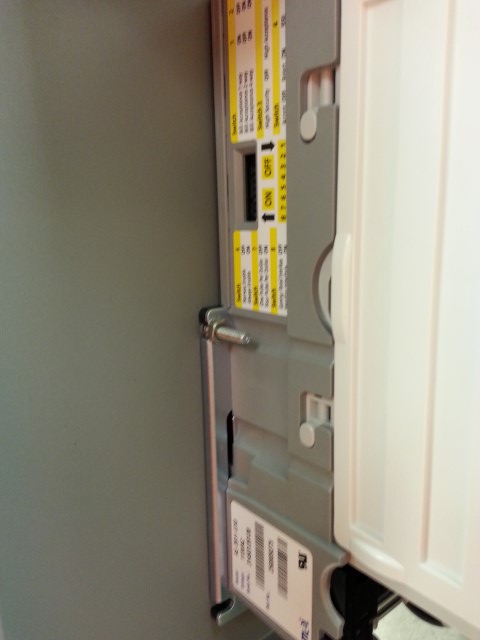
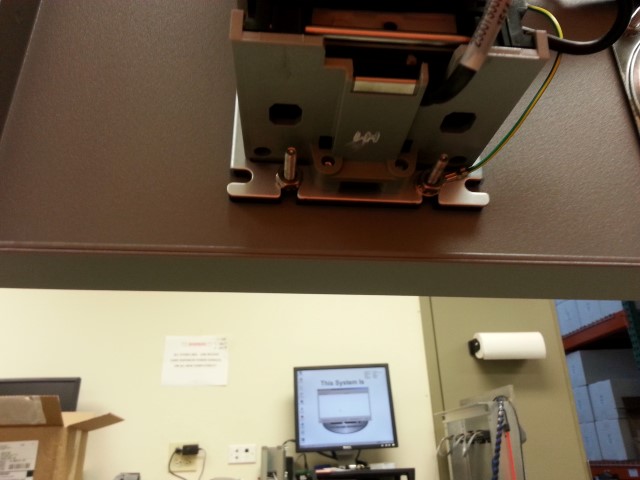
- Loosen but don't remove the mount screws on the bottom of the dispenser. First pull the dispenser back until it stops and the front tray clears the door slot.
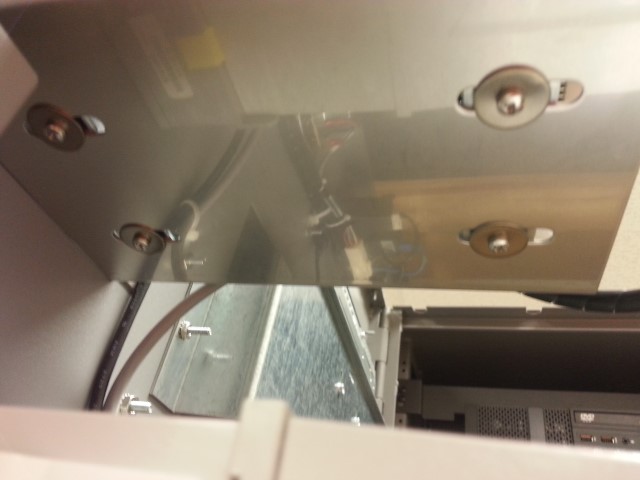
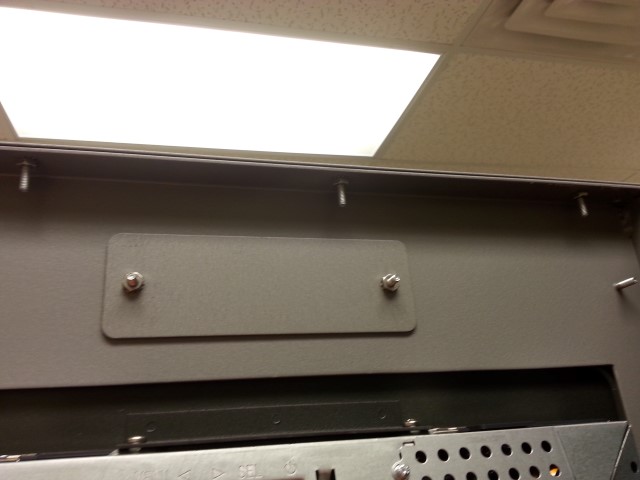
- Remove the retaining strip from the top of the door by removing the (5) nuts from the mount screws. Pull up to remove the strip.
- Pull the acrylic straight up and out of the tracks making sure to pull it away from the door slightly to avoid scratching against the lock.
Make sure to pull out as straight as possible as it can jam or chip if removed at an angle.
- Reverse the instructions to insert new acrylic.
Tips & Warnings
- Make sure to pull the acrylic away from the door during removal or installation to avoid scratching on the lock.