C-0999 - X-Changer Security Brackets Installation Guide
IMPORTANT
This document assumes the installer has working knowledge of hand tools and of the target X-Changer in question. It is recommended that the instructions contained herein be performed by individuals who are qualified to perform these tasks. Card Concepts Inc. takes no responsibility for any damage that may occur to target X-Changer.
LaundryCard is an ever-evolving, ever-improving process, from software to hardware components, and even enhancing the physical security of a LaundryCard X-Changer. This guide will go over the process of installing the secure brackets into the mounting area of the touchscreen as well as the side of the Bill Note Acceptor area.
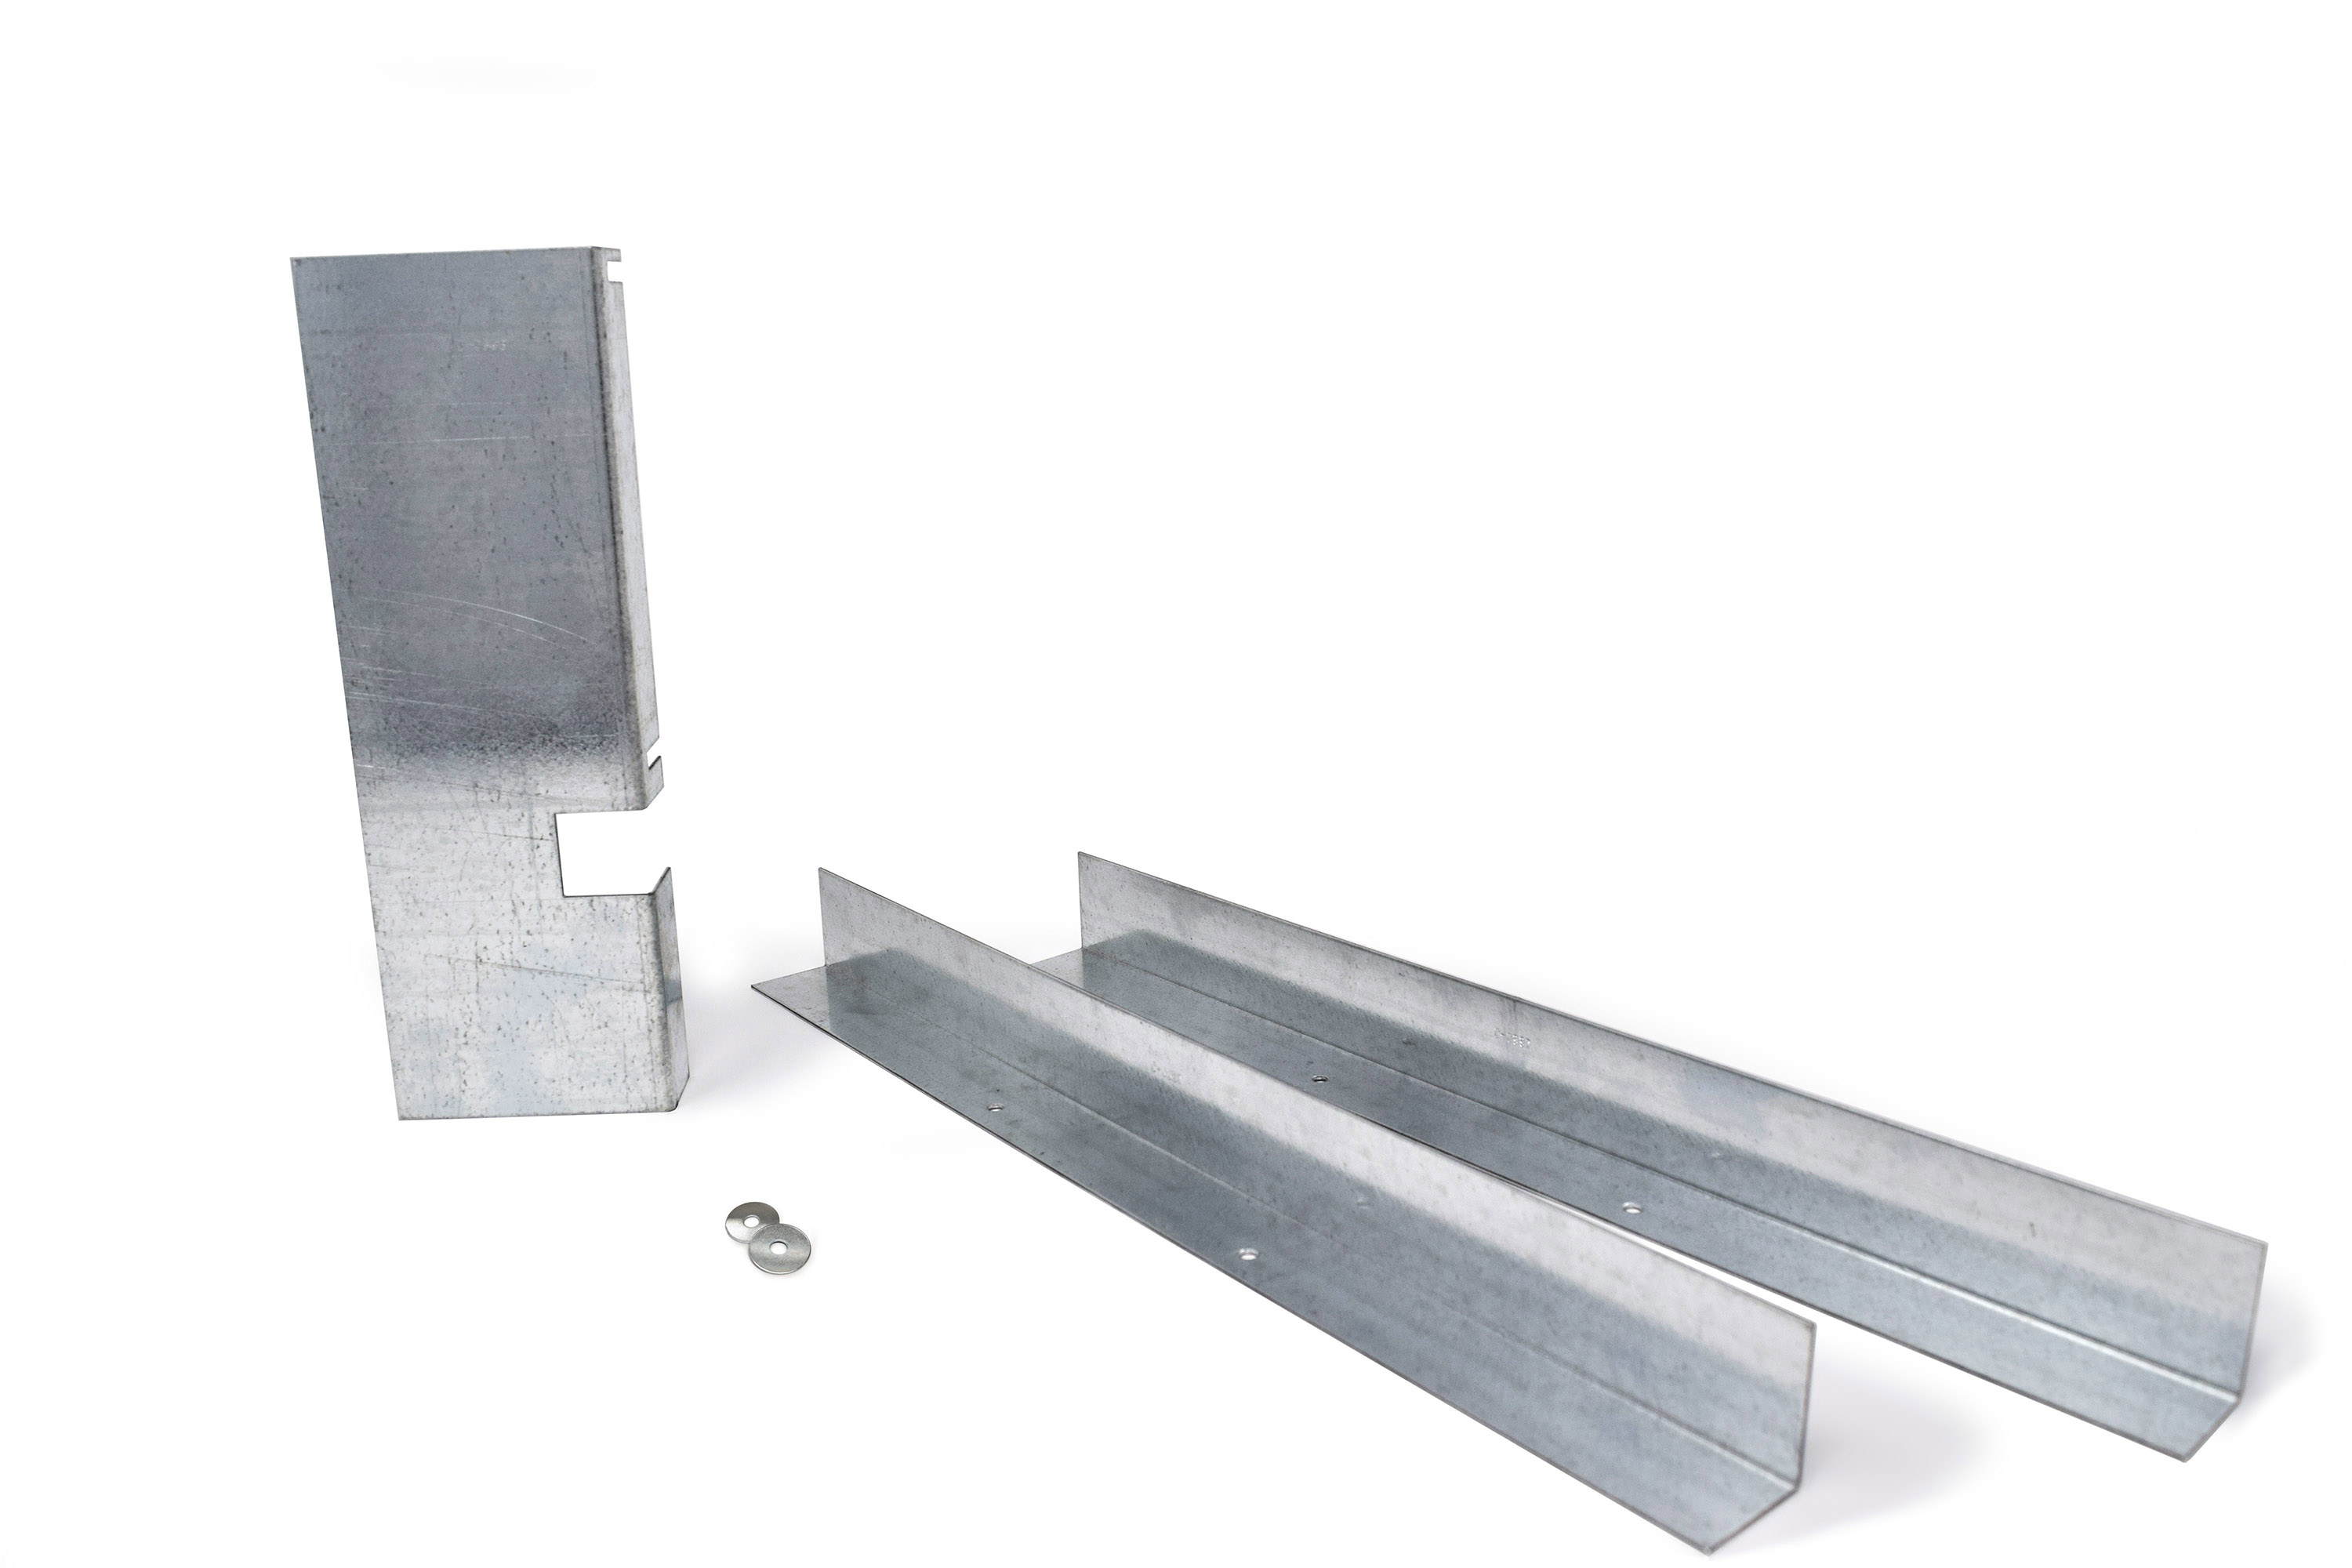
Parts List
Required Tools
Phillips screwdriver
Socket wrench
9/16" socket
11/32" socket
Installation
Note
Installation of the following brackets requires the ability to open the front door of the X-Changer cabinet.
Not all X-Changers may have maintained the exact same front door layout over time. Carefully observe for and move aside any cabling that may impede or impact the installation process.
C-0998 - Bill Validator Security Bracket
Remove the Bill Acceptor Magazine to prevent collision of tools when loosening and tightening the locking kep nuts on the door panel.
Loosen the two (2) 11/32" kep nuts to the right of the bill validator.
Wedge the bracket behind the two (2) 11/32" kep nuts and any secure housing with the open section for cabling facing closer to the bottom. The flat surface of the wedged corner should be touching the door.
Re-tighten the kep nuts to secure the bracket and re-attach the Bill Acceptor Magazine.


C-0997 - Security L Brackets
IMPORTANT
Due to the secure nature of the brackets, installing the two L Brackets requires a considerable amount of force to tighten the screws in place to keep in line with the door panel.
It is recommended to have an additional person assist by holding the front of the monitor and bezel in place during the process.
Carefully loosen the four (4) 9/16" bracket nuts from the left and right sides of the C-1053BR bracket. DO NOT unscrew the center VESA screws or completely remove the kep nuts or bracket!
Remove the two (2) phillips screws from the top of the C-1053B bezel mount.
Optional: If v9 Camera Mounting Kit K-1407 is installed:
Remove the C-1401 Camera Mounting Bracket's 11/32" kep nuts.
Unmount camera and place in a safe location during the bracket install.
(Must be done before re-mounting the camera.) Place one C-1070-W washer in the left and right mounting bolts.
Attach C-0997 plate and screw back in place with the same bracket screws.
Optional: Re-attach C-1401 Camera Mounting Bracket and fasten with the mount's 11/32" kep nuts.
Ensure washers are in place before re-mounting camera.
With the opposing bracket, remove the two (2) phillips screws from the bottom of the C-1053B bezel mount.
Attach C-0997 plate and screw back in place with the same bracket screws.
Re-tighten the four (4) 9/16" bracket nuts on the left and right sides of the C-1053BR bracket.
Before & After
Before Security Brackets Install | After Security Brackets Install |
|---|---|
C-0997 Completed Install - Visual Reference | C-0998 Completed Install - Visual Reference |
|---|---|
Tips
When installing either bracket, we recommend clearing any significant static discharge prior to installation.