LaundryCard: Network Switch Replacement Guide
Overview
This page is intended to guide the user through the replacement of a failed network switch within the X-Changer cabinet.
Disconnect any electrical device from power before performing any work on the device. It is recommended that the instructions contained herein be performed by individuals who are qualified to perform these tasks. Card Concepts Inc. takes no responsibility for the accuracy of this document or any damage that may occur to target equipment. Technical Support recommends using all appropriate safety equipment (such as hand and eye protection) during execution of the instructions below.
Required Hardware
| Part ID | Description |
|---|---|
| C-0629 |
Recommended Tools and Supplies (Not Included)
| No.2 Phillips Screwdriver (Or Equivalent) | |
Installation
Step 1 - Identify the Network Switch
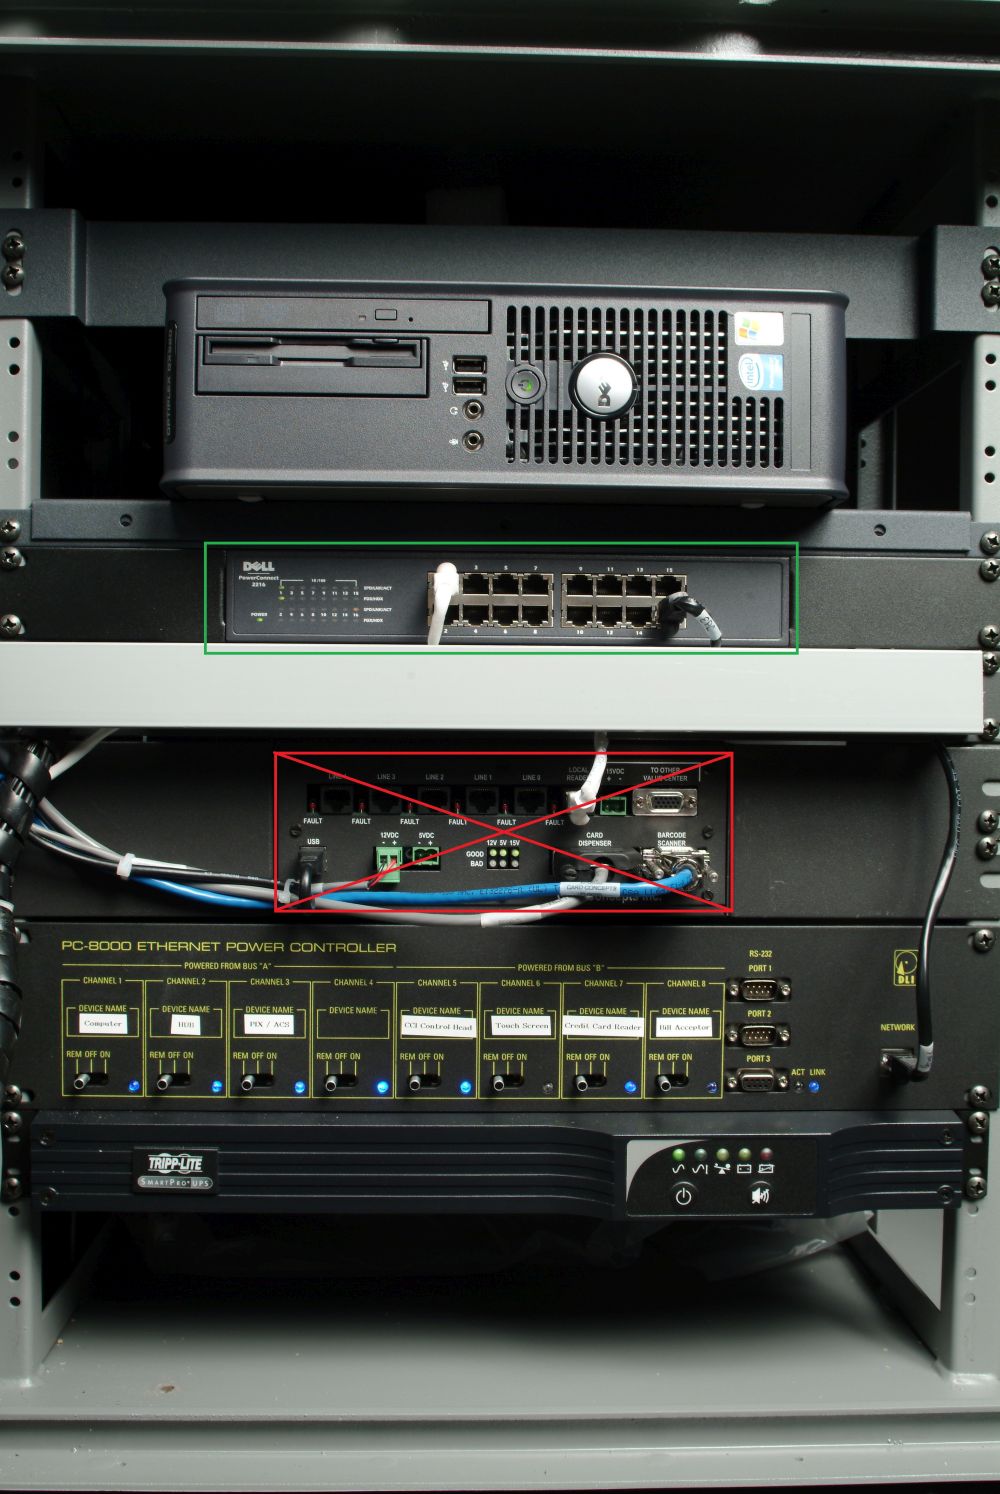
- Open the front door of the X-Changer cabinet.
- Locate the network switch.
- The network switch in the image above is framed in green.
- The network switch looks similar to the control head, framed in red. It is critical for store operation that lines are not removed from the control head.
- If the network switch cannot be identified, contact Technical Support for assistance.
Step 2 - Disconnect Switch from Power
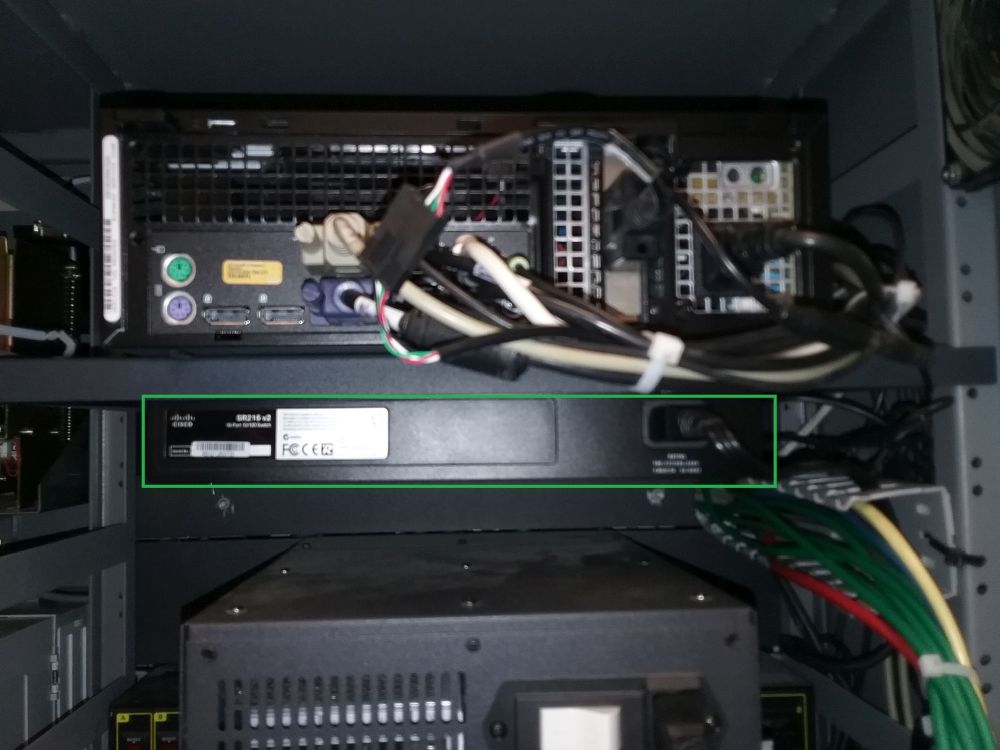
- Open the rear door of the X-Changer cabinet.
- Locate the rear of the network switch, framed in green.
- Trace the power cable from the switch to the outlet.
- Disconnect power cable from outlet.
- Note the outlet for the new switch.
Step 3 - Remove the Existing Network Switch
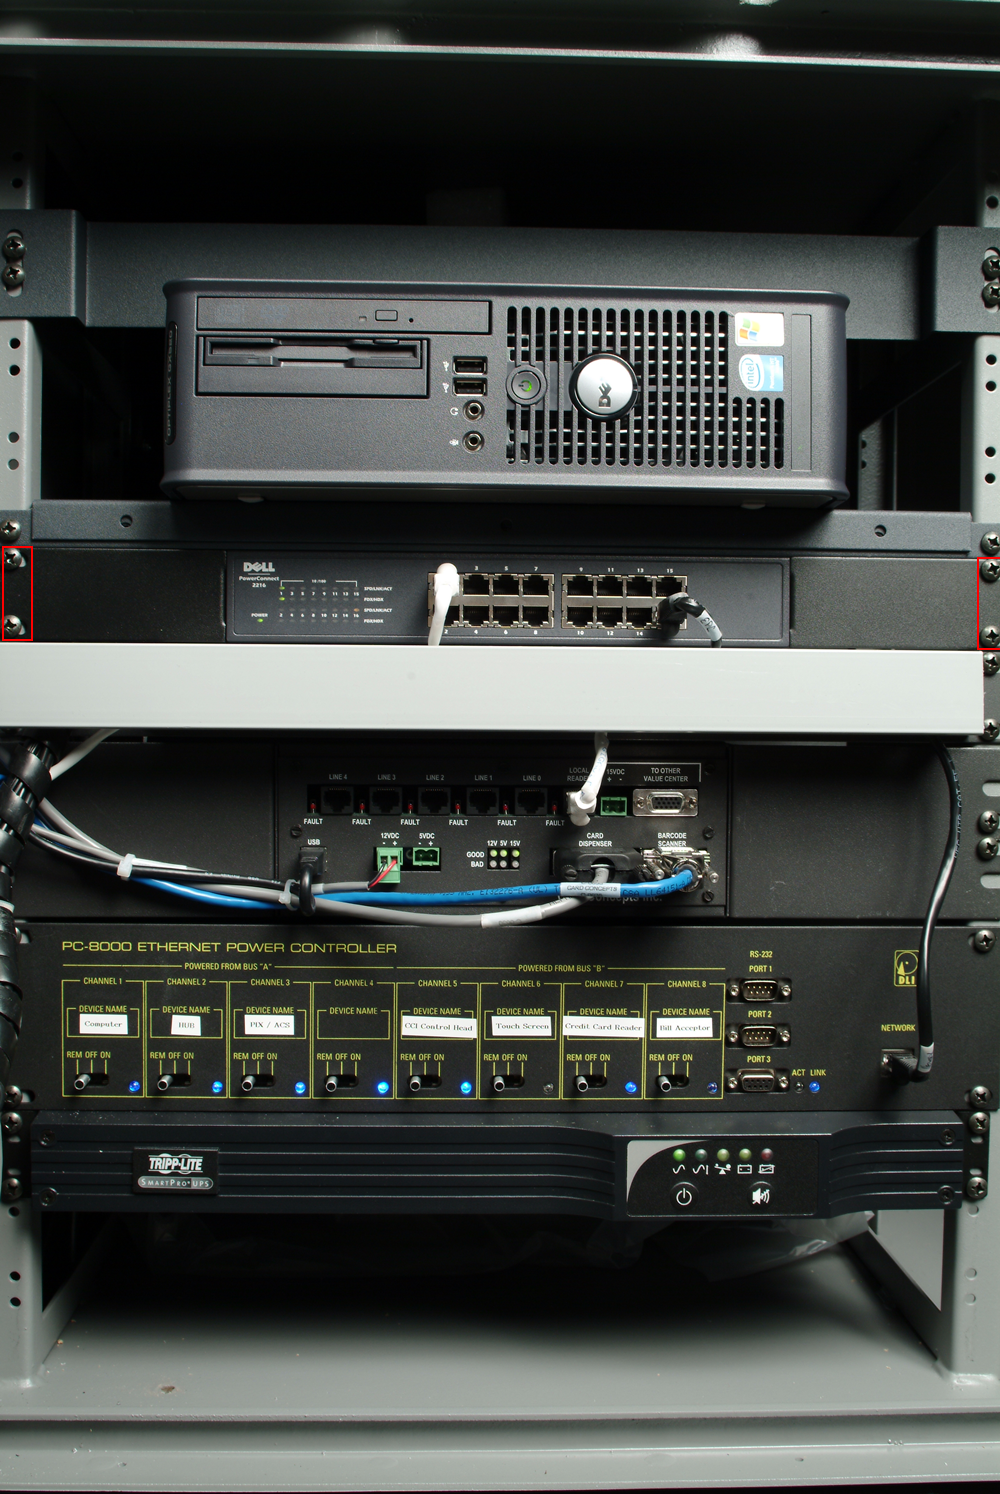
- Disconnect all cables connected to the front of the network switch.
- Take note of how many/which cables are connected to the network switch - Technical Support recommends taking a smartphone picture.
- Remove the screws (framed in red) mounting the network switch to the X-Changer framework.
- Set screws aside for mounting replacement switch.
- Slide the network switch forward and remove through the front door of the X-Changer cabinet.
Step 4 - Install the Replacement Network Switch
| C-0629 |
|---|
- Feed the power cable for the new network switch through the opening in the X-Changer framework.
- The bracket (not shown) will line up with the mounting holes for the previous switch.
- Mount network switch with screws removed in step 3.
- Reconnect cables to front of network switch removed in step 3.
- The exact port does not matter - all ports will function in the same fashion.
- Reconnect power cable in rear of X-Changer in reverse of step 2.
- Contact Technical Support to test.